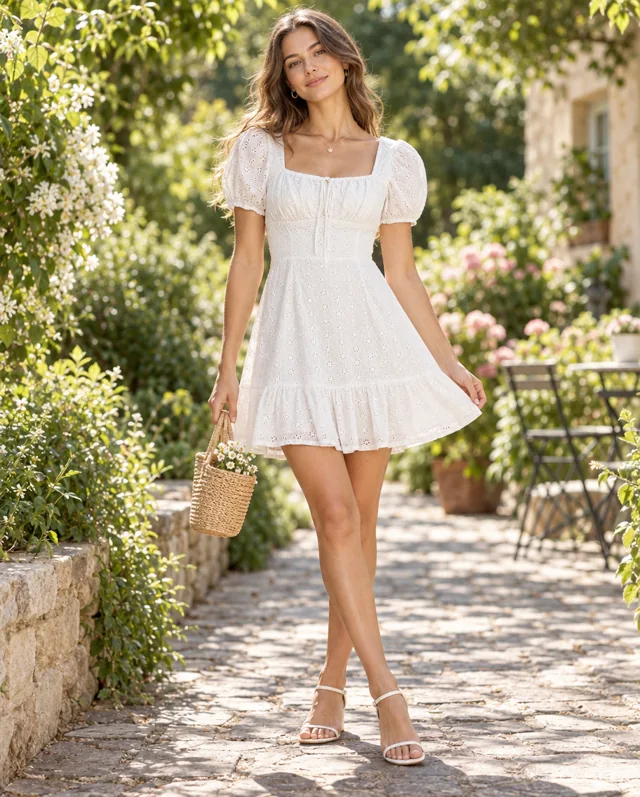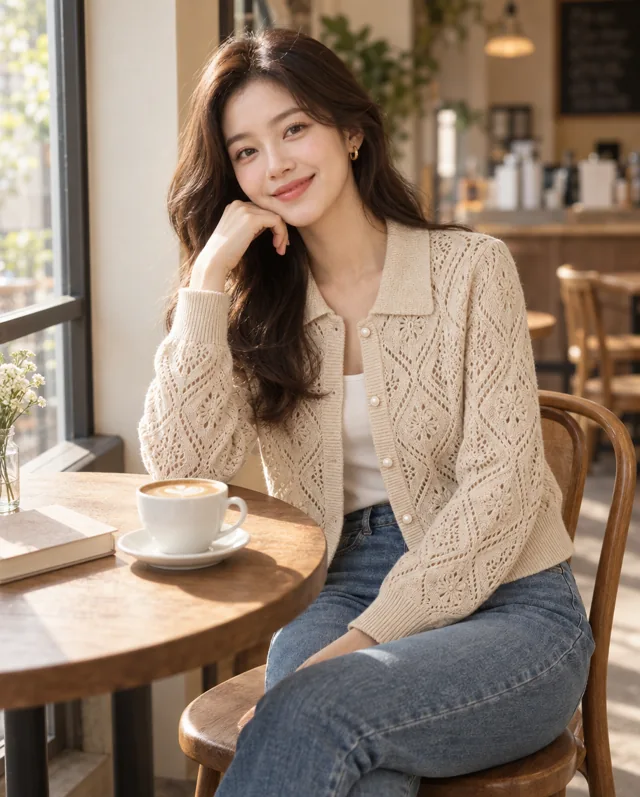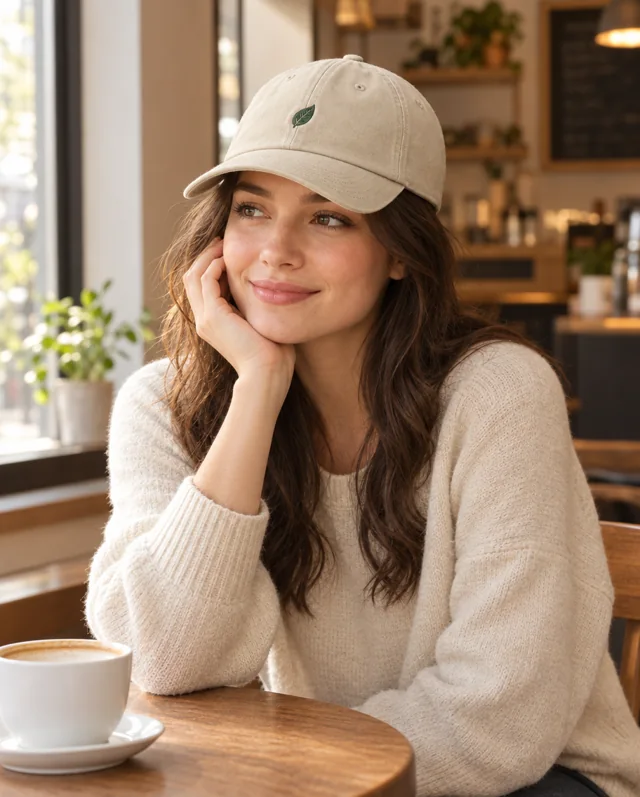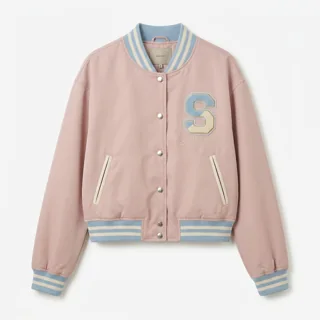
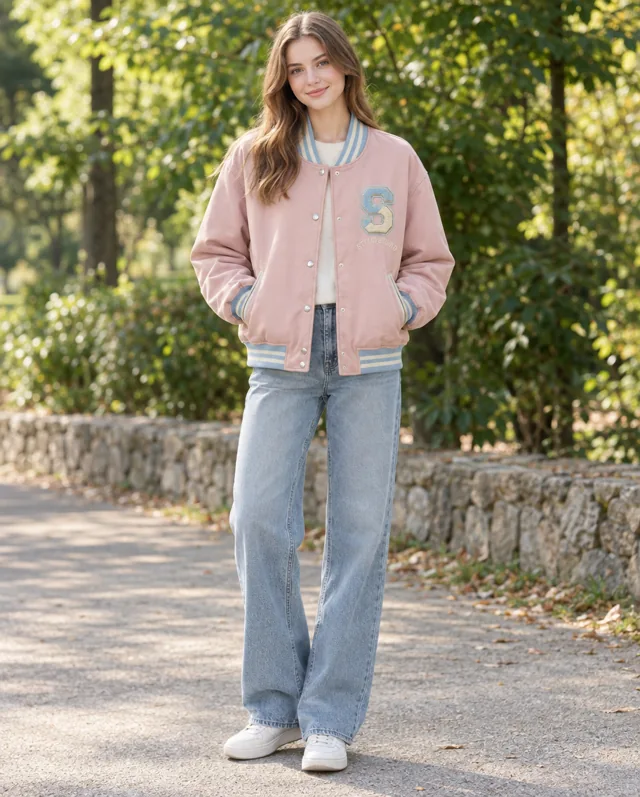
Example: a pink varsity jacket photographed on its own becomes an outdoor campaign image. The garment remains the subject while the setting provides a seasonal direction.
Selected AI-generated examples. Before publishing, check garment shape, colors, prints, trims and logos against the source. Use accurate product photography to document details and fit.
Plan around the placement and featured garment
Start with the piece you want to promote and where the image will appear: a collection landing page, a store promotion or a social post. Choose an aspect ratio and composition for that placement. If you plan to add a headline later, include space for copy in your scene description.
Explore a direction for the launch
Choose a suggested shoot plan or describe the setting, light and composition you want. The pink varsity jacket example uses an outdoor scene; a studio or street direction can tell a different story for the same piece. You can return to the product project to explore another image.
Take the selected image into your campaign artwork
Review the garment and the space around it before saving your selection. Add headlines, prices and other campaign details in your usual design tool. Review the finished crop as well, so the garment, any important detail and the promotional text remain easy to see.
Review the product before the artwork
Compare proportions, fabric, trims, logos and lettering with the source photo. For the jacket example, check the striped ribbing, press studs and chest patch. Generated lettering and small details may differ from the original.
Compare product images